
I’ve now had this blog for some… two and a half years, methinks? A lot has happened in that time, although I think the last few months has been my longest blogging break yet 😦 But I’m back now!!
It’s been a beautiful summer… And autumn… 20 celcius in September for two and maybe more weeks? Never before. I’m happy, and I think I become more creaitve in the sunshine. It’s like solid happiness for me! I’m out of school too, so I have had some serious crafting/whittling/drawing/music sessions over the past while, and the sun only makes it better!
My mum is starting her Forest School training group soon, and I’m going to be helping out, so I made some dreamcatchers as examples as they are some of the things we will possibly teach the kids to make. However, thinking I was beginning to make some regular natural dreamcatchers didn’t exactly turn out, because yeah, I never do things the same way twice! I think the sunshine was giving me cravings of some brighter colours so I used cloth strips. And you know what, I actually took photos for a tutorial! I have never fully succeeded in doing this before as I usually get too carried away to remember to photograph the important stages…
Enough talking, here’s the tutorial!

Equipment and materials:
Scissors
A long, bendy stick that will not break or crumple when bent into a circle, preferably willow (I used dogwood, common in Ireland at least) Test around a bit, it might not work first time!
Wool/string of various colours, I like to use earth tones myself.
Feathers, Nuts, any beautiful natural things you can tie string to!
1cm wide strips of cloth, from 1/2 ft to 1 1/2 ft long
Imagination! (Most important)


Bend your long stick into a circle. It won’t be even, so bend it a bit with your hand.

Get your wool or string and tie it around the circle where the thick end of the loop stops.


Wrap your string once around the thicker part and then cross over both to wrap towards the thinner part


When it is holding together the ends well, pull the string toward the middle of the wrap and create a loop above as shown. Once the loop is made cut the string with a reasonable tail to tie off the loop with (about where my scissors are in the third photo


Pull that loose end upwards and tie off the loop with the string as shown.


To begin the weaving, cut a long peice of wool or thread (I was using a different, green one in this) and tie it around the top where the loop is. I used a timber hitch for extra strength but it’s unnessacary if you don’t know it.
Bring this peice of wool to another place on the frame and reaching underneath, pull wool through itself and pull tight (See pictures, it’s difficult to explain!) repeat all around the frame.


Once you reach the top of the frame again, make the last section a little shorter. Then bring the wool around the first string in the same way as you did the frame, and pull tight until it is in the center of the supporting string. Continue this way until you reach as far as you’d like. If you run out of wool along the way tie another peice on to the end of the previous.


If you wish, tie some of your natural things to some strings and attach to the base of the dreamcatcher. If you want you can leave it at that but I highly recommend the next step, as, in my opinion, it gives the dreamcatcher a very beautiful and summery feel.


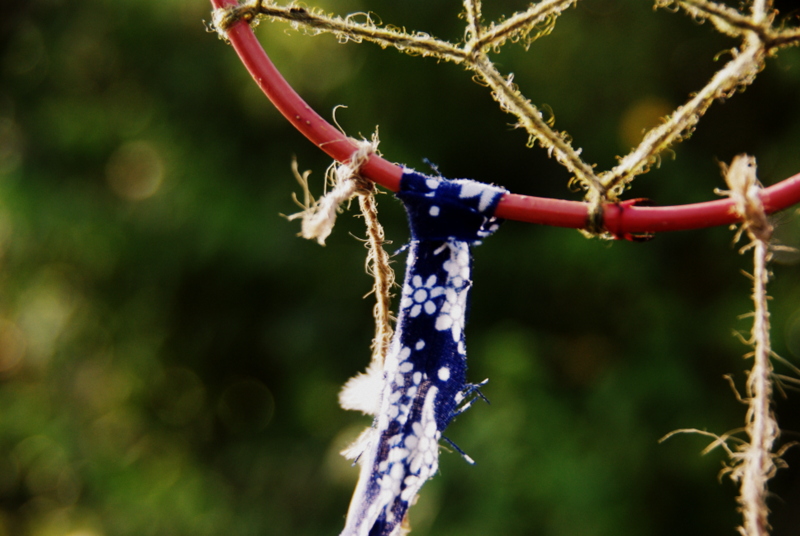
Take your strips of cloth, and if they are neat and orderly, attack them. Pull them, stretch them, twist them, fray them.


Next, fold your strip in half and push the top around the dreamcatcher frame. Push the two loose ends through the top and pull tight. Continue around the base of the dreamcatcher as much as you wish, and ta dah!


If you have any questions, comment or queries please don’t hesitate to use the comments box below! I would be glad to help you!

Lovely 🙂 Using different patterns/colors of cloth is a great idea.
Creative 🙂
_____________________________________________________________
Please check out my blog if you want http://unsmileys.wordpress.com/
Thanks & Happy blogging
This is so beautiful and delicate! Love it!